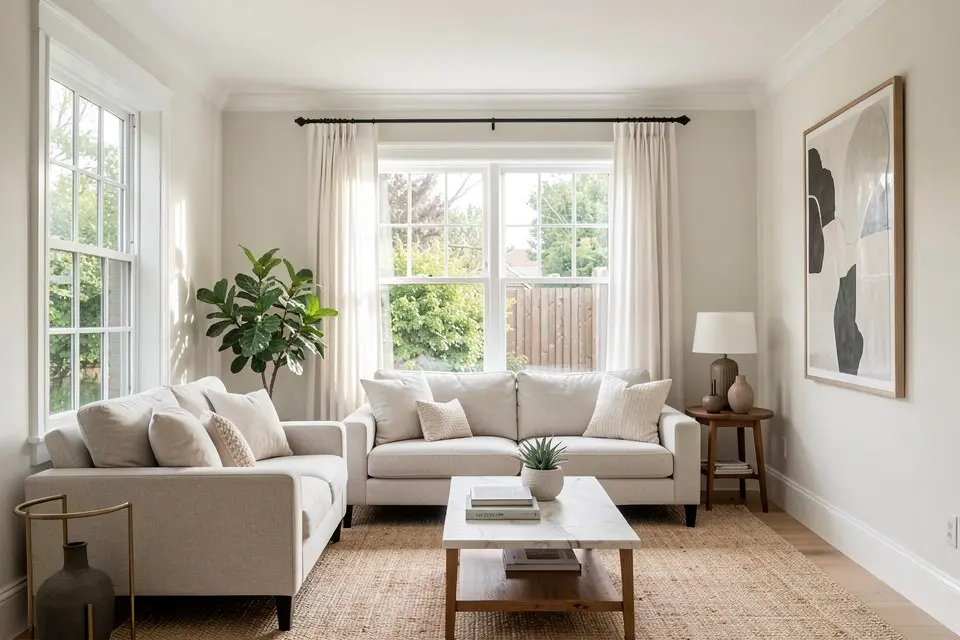
The single biggest lever on listing engagement isn’t the price or the description, it’s the first photo, and most sellers get it wrong by leading with the exterior when the interior shot that actually sells the home sits four photos down. Fix the ordering and the framing before you worry about anything else.
The photo that gets the click
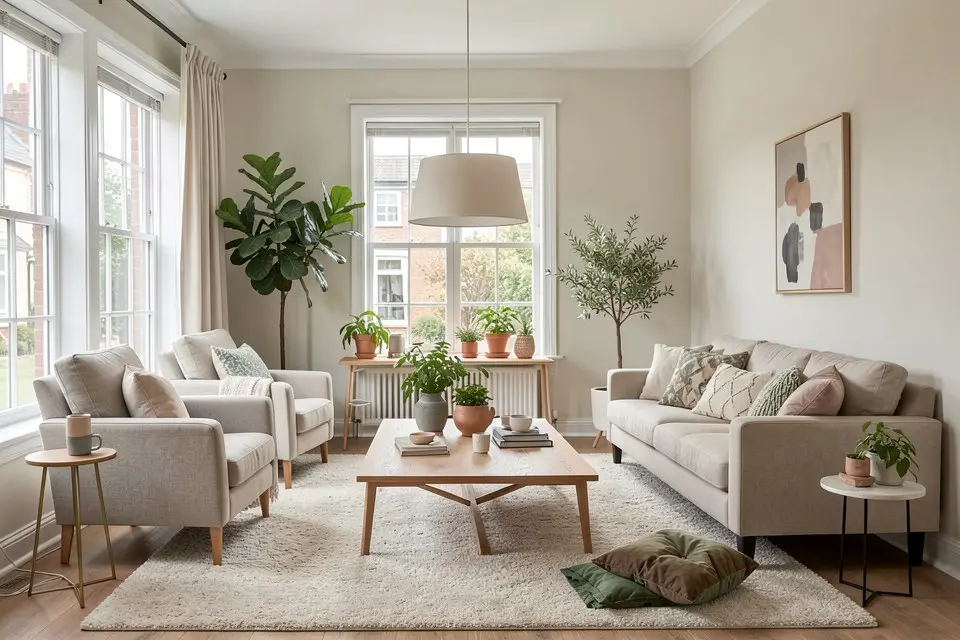
Portal data consistently shows the first photo in a listing determines a large share of whether a buyer clicks through at all. Lead with the best room in the house, shot at its most flattering angle, whether that’s a bright living room or a kitchen with a striking island. Save the exterior for photo two or three unless the curb appeal is genuinely exceptional. Buyers scrolling a results page are choosing between dozens of thumbnails; a generic front-of-house shot competes with every other listing’s generic front-of-house shot, but a great living room stands out.
If your exterior does need work before it’s photo-worthy, our curb appeal ideas guide covers the changes that move the needle fastest, many achievable within a weekend and a modest budget.
Framing rules that actually matter
- Shoot from a corner, not the center of the room. A corner shot captures two walls and more floor, which reads as a bigger, more complete room than a straight-on shot of one wall. It’s also the angle that AI redesign tools read best, which matters if you plan to virtually stage the shot.
- Keep the horizon level. A tilted horizon is the single most common amateur photo mistake and it’s an easy fix with any phone’s built-in level guide.
- Avoid extreme wide-angle distortion. Ultra-wide lenses make rooms look bigger in a way that disappoints buyers in person and can even trigger inconsistency claims. A moderate wide angle (roughly 24-35mm equivalent) is the honest sweet spot professional real estate photographers use.
- Shoot at eye level or slightly above, not from the floor. Floor-level shots exaggerate ceiling height in a way that reads as amateur rather than aspirational.
- Turn on every light in the room, then shoot with available daylight too. Mixing the two gives you the most balanced exposure without harsh shadows or dark corners.
Prep before you shoot, not after
No amount of good framing rescues a cluttered room. Clear counters, put away personal photos, tuck cables out of sight, and open all the curtains before the camera comes out. The home staging checklist for sellers turns that into a room-by-room list with timings. If a room genuinely won’t declutter in time, or you’re shooting a property where the seller has already moved out and left mess or debris behind, it’s often faster to shoot anyway and clean up digitally afterward rather than delay the whole shoot. See our guide to removing clutter from room photos for what’s realistic to fix after the fact versus what needs to be dealt with before the shutter clicks.
Staging and photography work together, not separately
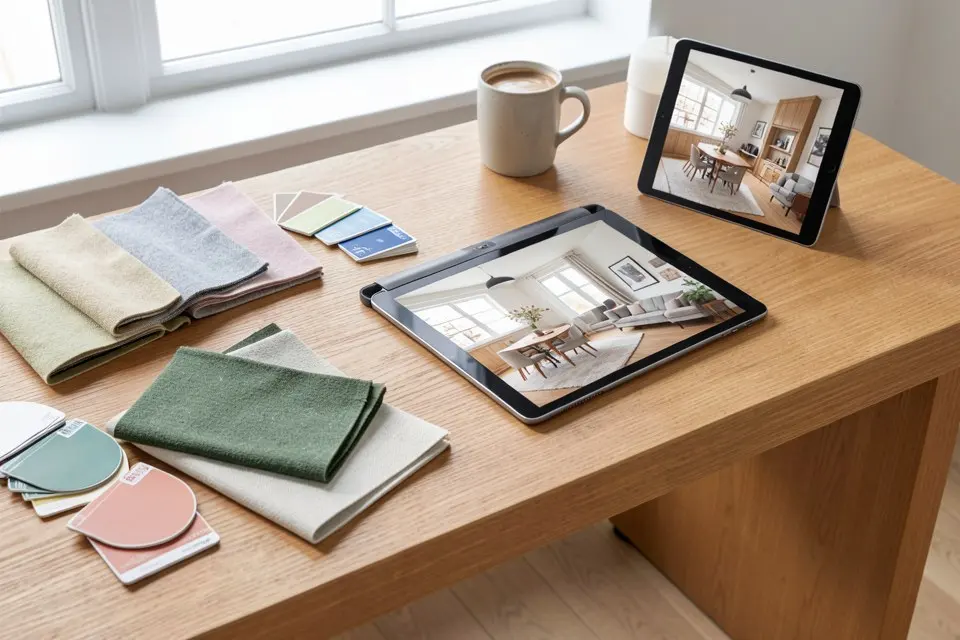
An empty or under-furnished room photographs worse than a furnished one regardless of how good the framing is, since buyers have nothing to judge scale against. Small rooms suffer most here; staging small rooms for listings covers the furniture scale that makes them read larger. If rooms are empty or sparsely furnished, plan to virtually stage them before finalizing the listing gallery. Our full guide to virtual staging for real estate covers how to sequence that with your photography so the staged and unstaged photos in the same gallery look consistent in lighting and angle.
Exterior photos deserve the same rigor
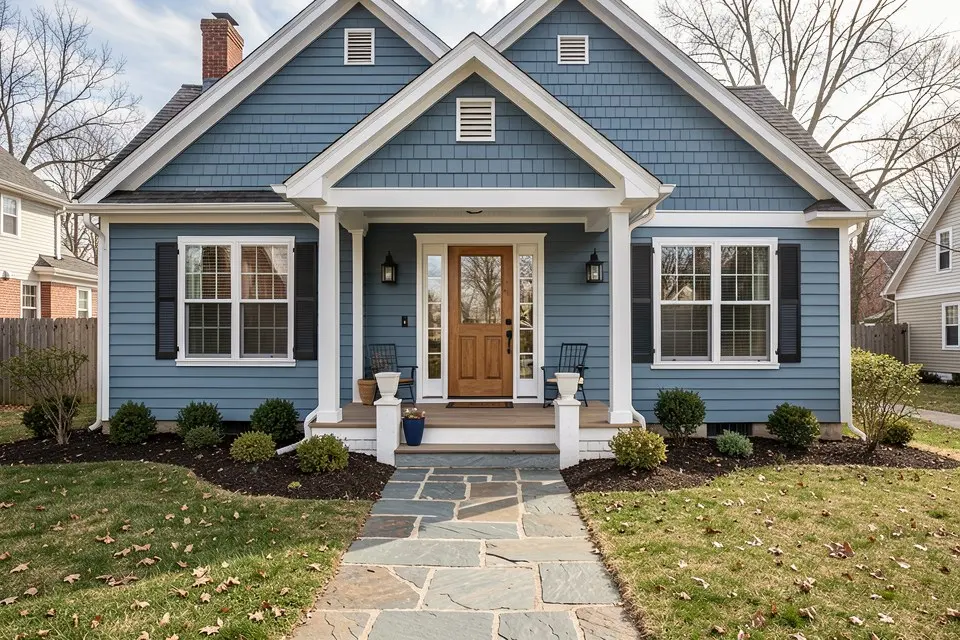
Exterior shots get less attention than interior ones but matter just as much for the click-through decision. Shoot the front of the house straight on, not from an angle that foreshortens the facade, and time the shoot for soft light rather than the harsh shadows of midday sun. If the front door or exterior paint has faded or dated, small preparation work here pays off; see our guide to choosing a front door color for a low-cost fix that reads well in a photo even if a full repaint isn’t in the budget.
A pre-shoot checklist
| Task | Time needed |
|---|---|
| Declutter counters and surfaces | 30 – 60 min per room |
| Turn on all lights, open all curtains | 5 min |
| Level and clean windows | 15 min |
| Check horizon and framing on first test shot | 5 min |
| Shoot exterior in soft morning or evening light | 20 – 30 min |
Budget half a day for a full house shoot if you’re doing it yourself with a phone or a basic camera. A professional photographer typically completes the same job in 1-2 hours with better equipment and experience reading each room’s light.
Try it yourself
Once your photos are shot, use Homie to virtually stage any room that’s empty or under-furnished, so the whole gallery reads as consistently move-in ready without a rental furniture bill for rooms the camera barely lingers on.