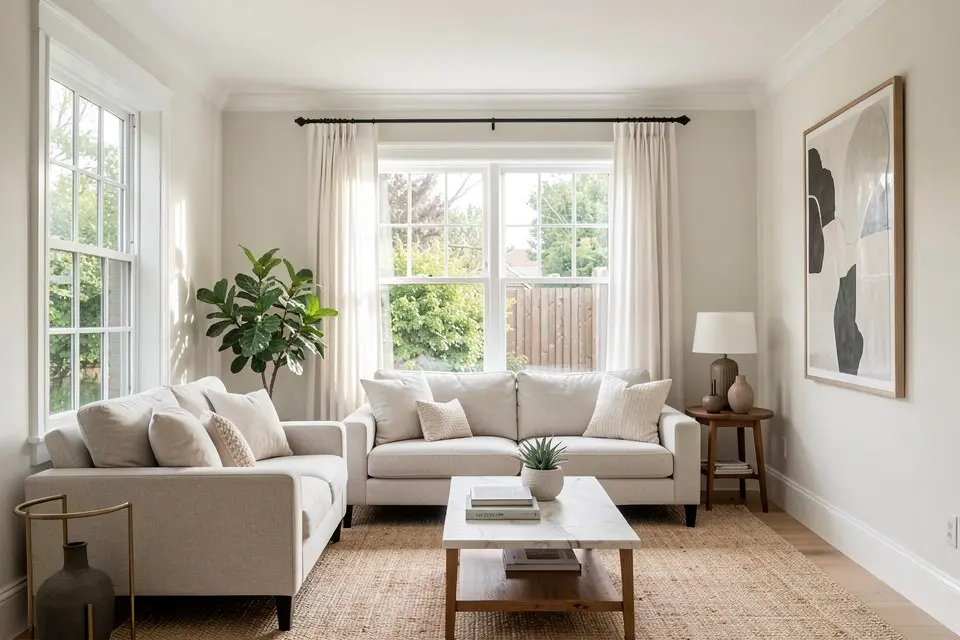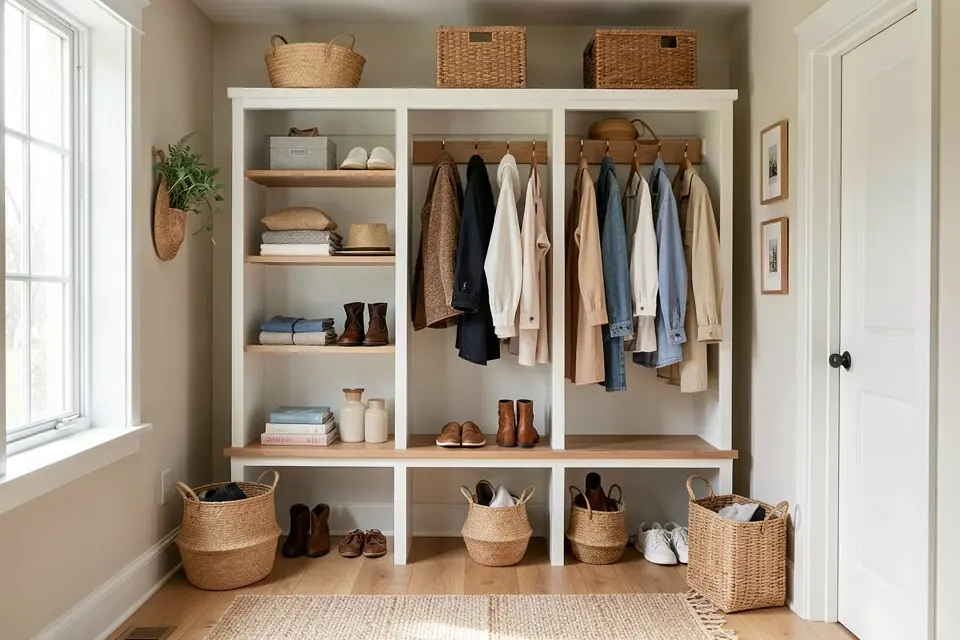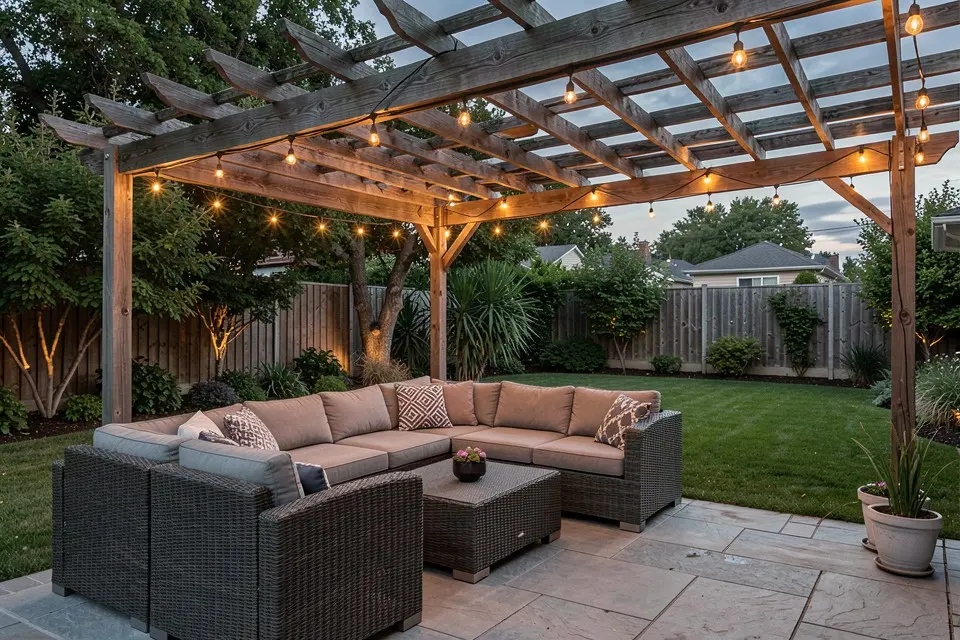
Object Removal erases clutter, cords, and unwanted furniture from a room photo so what’s left is a clean base for redesign, and running it first fixes more problems than any other single step in the process.
Most home photos aren’t magazine-ready. There’s a laundry basket in the corner, cables snaking behind the TV stand, a stack of mail on the counter. None of that is the room, but all of it confuses an AI redesign model, which will try to incorporate what it sees rather than what you meant. Clearing that out first is the single highest-leverage step before you touch Room Redesign or Style Transfer.
What it actually does
Object Removal identifies an object or region you mark and reconstructs what’s behind it, generating plausible flooring, wall, or background detail in its place. It’s the same category of tool as “content-aware fill” in photo editors, tuned specifically for interior scenes so it understands things like baseboards continuing behind a removed chair or a floor pattern repeating correctly.
It is not a redesign tool. It doesn’t add new furniture, change colors, or restyle anything. It only removes and fills. That distinction matters because it’s easy to reach for Room Redesign when what you actually want is a clean photo to redesign from.
When to use it vs. other Homie features
| Your situation | Feature to use |
|---|---|
| Room has clutter, cords, stray objects you want gone | Object Removal |
| Room is empty and needs furniture | Virtual Staging |
| Room is furnished and needs a new look | Room Redesign |
| You want the same layout in a different aesthetic | Style Transfer |
Object Removal is almost always step one, not the whole job. Clear the clutter, then run whichever redesign feature fits what you’re actually trying to accomplish. For an empty property headed to market, that next step is usually virtual staging.
How to actually do it
- Take or select a well-lit photo of the room. See how to photograph a room for AI redesign if you’re not sure your photo is good enough.
- Open Object Removal in Homie.
- Mark each object you want cleared. Do clutter in one pass rather than one object at a time. A laundry pile, cables, and a stray chair can all go in the same request.
- Review the fill. Zoom into the area where each object was removed and check that the floor, wall, or trim reconstructs cleanly.
- Re-run on any patch that looks off before moving on. It’s much cheaper to fix this now than after you’ve layered a redesign on top of it.
- Once the base photo is clean, move to Room Redesign, Style Transfer, or Virtual Staging depending on what you need next.
What good input looks like
The best candidates for Object Removal are photos where the clutter is a clearly separable object sitting in front of a distinct background: a chair in front of a plain wall, cables against a baseboard, a pile of clothes on a visible floor. Removal struggles more when the cluttered object overlaps something structural, like a lamp partially blocking a window frame, because the model has to invent architectural detail rather than just floor or wall texture.
If your room has more clutter than floor space, and this is common in a small apartment, consider removing objects in two rounds rather than one giant pass. Clear the largest items first, review, then clear the smaller detail clutter. This gives the model a cleaner reference for each subsequent removal.
Common mistakes
Skipping this step entirely is the most common one. People run Room Redesign directly on a messy photo, and the output either keeps clutter that should’ve been gone or replaces it with something odd because the model tried to interpret it as intentional. Five minutes of Object Removal upfront saves several redesign attempts later. Sellers get the same payoff: listing photo tips treats decluttering as the first job before the camera comes out.
The second mistake is trying to remove too much in one selection, like clearing an entire cluttered corner as a single blob rather than marking distinct objects. The model does better with defined boundaries.
The third is not checking the fill before moving on. A patch of regenerated flooring that doesn’t quite match the surrounding pattern is easy to miss at a glance but obvious once you’ve built a full redesign on top of it, at which point you have to start over.
Try it yourself
If your room photo has clutter, cords, or furniture you don’t want in the final result, start with Object Removal in Homie before running any redesign feature. A clean base photo is the cheapest quality improvement available to you, and it costs nothing but a minute of marking objects.