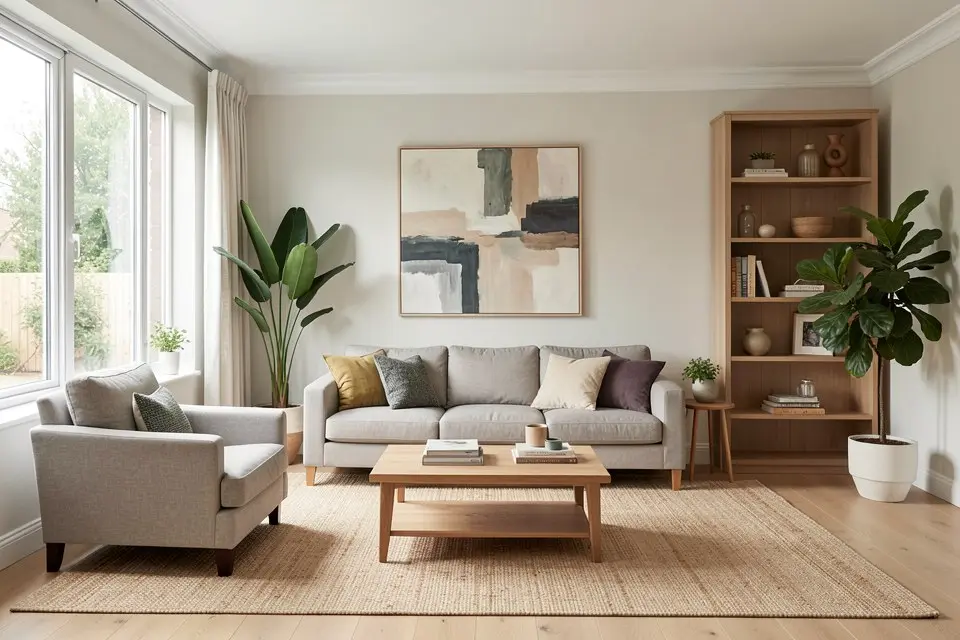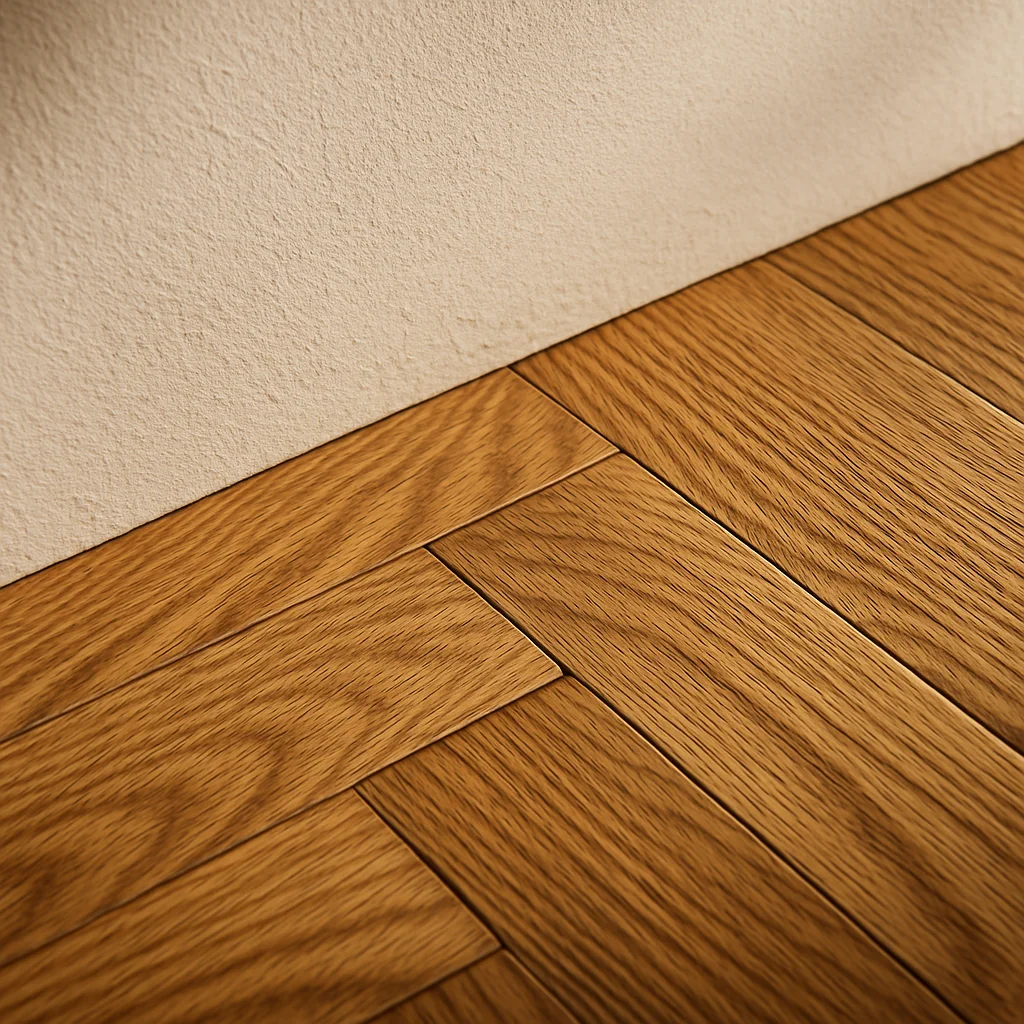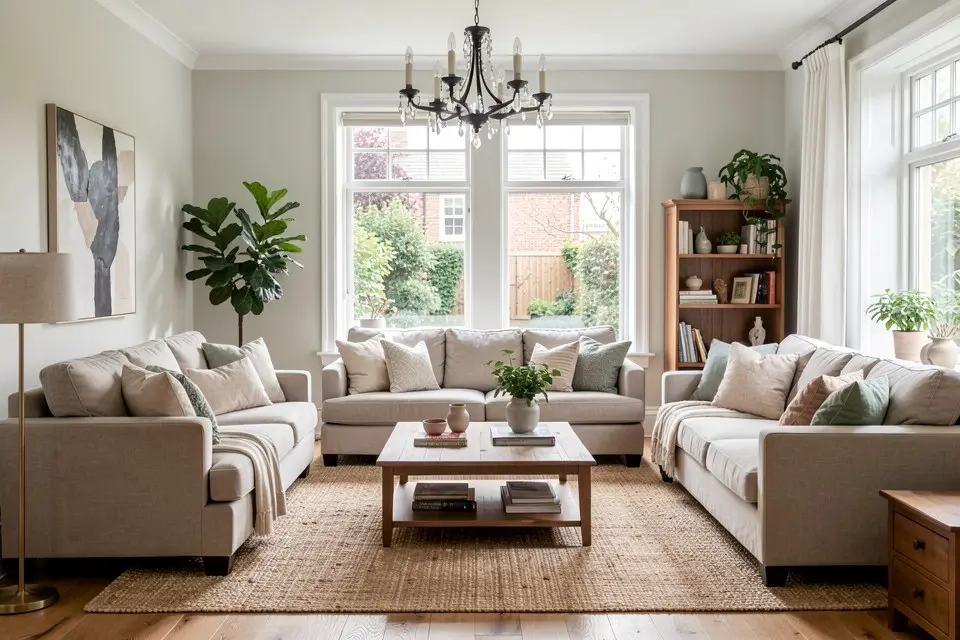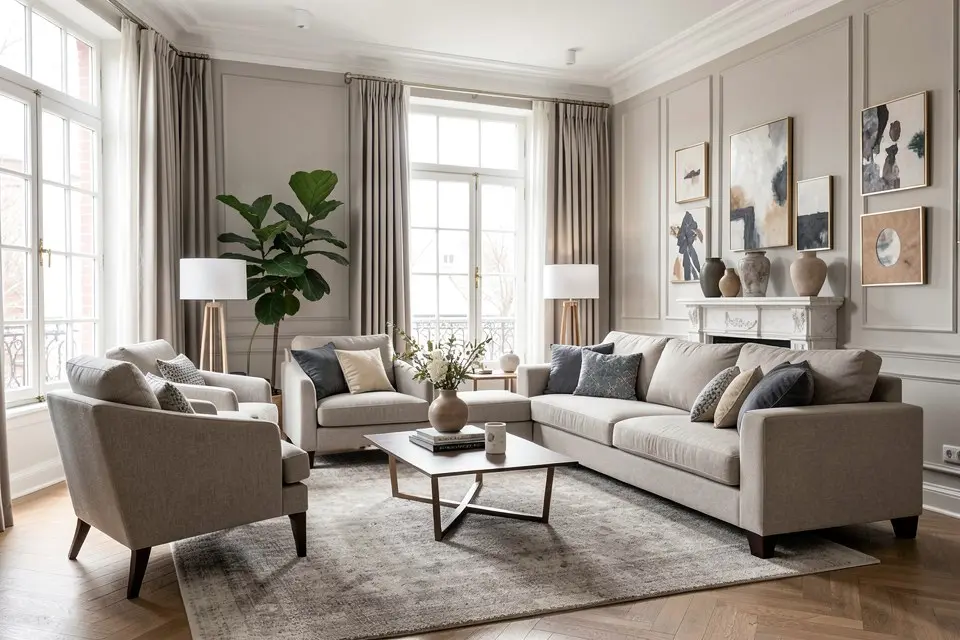
Upscale a room design when it needs to be bigger or sharper than the file you have, not as a routine last step on every image you generate.
Homie’s Room Redesign, Virtual Staging, and Style Transfer outputs are generated at a resolution that looks great on a screen but starts showing softness the moment you print it large or blow it up to fill a projector screen. Upscaler exists specifically to close that gap: it enlarges an image and adds back plausible fine detail so edges, textures, and fabric grain hold up at a bigger size.
When you actually need this
Most people never need to upscale anything. If you’re sharing a redesign in a text message, posting it to social media, or looking at it on your own screen, the native output resolution is fine. Upscaling matters in three specific situations:
- Printing. A physical print, especially anything larger than a standard 4x6, needs meaningfully more pixels than a screen does.
- Real estate listings. Full-bleed hero images on listing sites, including virtually staged ones, are often displayed larger than the source file, and a soft image reads as unprofessional next to sharp photography. This matters most when you’re preparing listing photos that get more showings.
- Client presentations. If you’re presenting a redesign on a large screen or as a printed board, or printing a brochure for a staged empty house, upscaling keeps the image from looking pixelated up close.
| Use case | Upscale? |
|---|---|
| Sharing on phone or social media | No |
| Small web thumbnail | No |
| Printed poster or board | Yes |
| Full-width listing hero image | Yes |
| Client presentation on a large screen | Yes |
Upscaling is the last step, and the result is only as good as the input — so start with how to photograph a room for AI redesign and, for property listings, listing photo tips.
How to actually do it
- Finish your redesign first. Run Room Redesign, Style Transfer, or Virtual Staging and get the composition and style exactly right before you upscale.
- Open Upscaler in Homie and load the finished image.
- Choose your target size based on where the image is going. For print, calculate from your physical print size at 300 DPI. For a large digital display, match the display’s native resolution.
- Run the upscale and zoom into a few detail areas, fabric texture, edges of furniture, small text if any, to check the result holds up.
- If a detail area looks artificial or over-sharpened, that’s usually a sign you upscaled further than the tool can reliably support from that source. Try a smaller target size.
- Export at the resolution you need and move it to wherever it’s going, whether that’s a print service or a listing platform.
What separates a good upscale from a bad one
The quality of an upscale is capped by the quality of the source image. A well-composed, well-lit redesign upscales cleanly because there’s real detail underneath for the model to work from. A dim, noisy, or already-blurry source image will upscale into something bigger but still soft, sometimes with artifacts where the model tries to invent detail that was never there.
This is why the sequence matters: get your input photo right using the corner-angle, daylight photo setup, get your redesign right, and only then upscale. Upscaling is the last step, not a fix for earlier mistakes.
Common mistakes
The most common mistake is upscaling by habit, on every image, regardless of where it’s going. This wastes time and sometimes introduces visible artifacts on an image that was already the right size for its purpose.
The second is upscaling too aggressively in one jump, going from a small native resolution to a huge print size in a single step. If your target is far beyond the source resolution, expect softer results even after upscaling, and consider whether a lower print size or a different display format is more realistic.
The third is skipping the review step. Upscalers occasionally over-sharpen edges or introduce a slightly plastic texture on fabrics and skin-like surfaces. Always zoom into a few areas before you commit to a print order or a large-format export.
Try it yourself
If a redesign from Homie needs to print sharp or fill a large screen, finish the design first, then run it through Upscaler with a specific target resolution in mind. It’s a finishing step for a good image, not a fix for a weak one.